How Do I Add a QR Code to a Package Insert?

What a QR Code on a Package Insert Actually Does
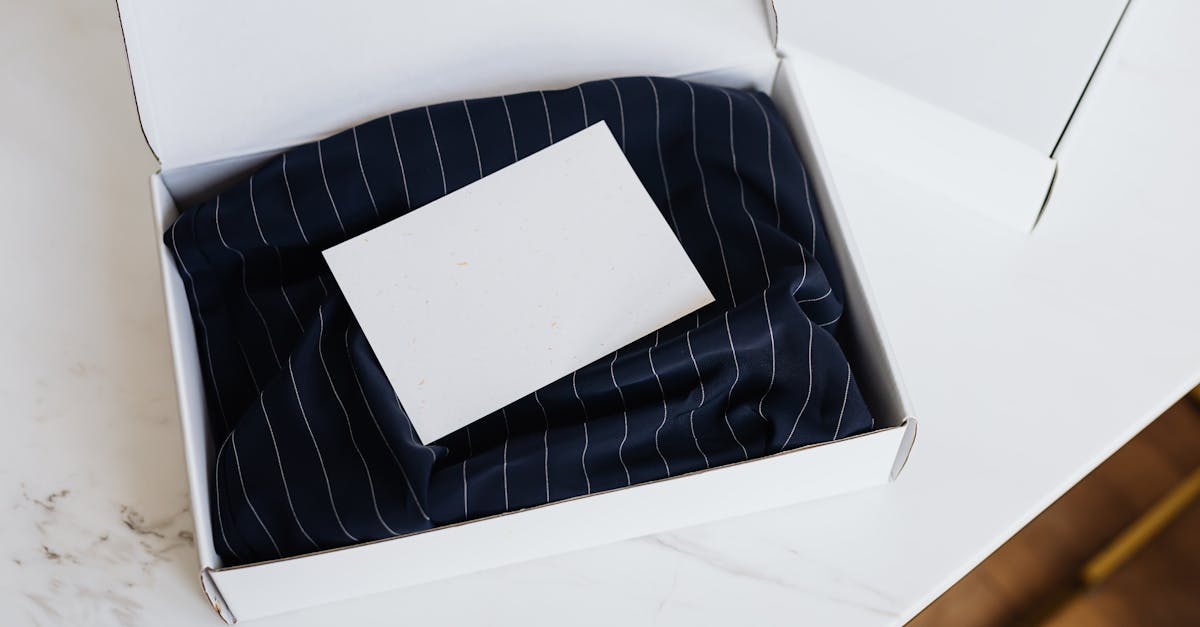
A QR code on a package insert is a bridge between a box sitting on a kitchen table and a page you own. The customer has already paid, already waited, and is already holding your product. That is the highest-attention moment your brand gets all year, and a printed link is the only way to act on it.
The mechanics are simple. The code encodes a URL. The phone camera reads the pattern and opens that URL in the browser. There is no app to install and nothing to type, which matters because almost nobody types a URL off a card.
What changes results is the destination, not the code. A code pointing at your homepage asks the customer to go find something. A code pointing at a review form for the exact product they just bought asks for one tap. Same square, very different outcome.
For sellers on OpoShop, the useful mental model is that every insert card is a tiny landing page with a physical distribution channel. You already pay for shipping. The card rides along free.
What You Need Before You Generate the Code
Getting the code right is mostly a matter of deciding three things up front. Skipping this is why a lot of insert projects stall halfway.
- One destination URL: The full link including https, already tested on a phone. Short links scan more reliably because they encode fewer characters and produce a coarser, more forgiving pattern.
- A card size: 4x6 and 5x7 are the common inserts, A6 works well for smaller apparel mailers, and a business card size fits jewellery boxes. The size sets how big the code can be.
- A print method: Home printer, office laser, or a print shop. Each one has a different tolerance for fine detail, and a laser printer handles small codes better than an inkjet on textured stock.
There is a fourth thing worth deciding early, which is who the card is for. A card for a first-time buyer and a card for a repeat buyer usually want different links, and your OpoShop order history already tells you which is which. You can print two versions of the same design and sort them at the packing table.
A quick example. A candle brand prints 200 cards a month. One hundred go to first-time buyers with a code linking to a care guide about trimming the wick. One hundred go to repeat buyers with a code linking to a reorder page carrying a 15 percent code. Same card stock, same trim size, two destinations, and the packing step costs nothing extra because the cards are already split into two piles.
How to Add a QR Code Step by Step
The fastest route is to let the insert generator build the code into the PDF rather than pasting an image into a design file. That way the code is vector-sharp at any print size and the link is stored with the card design instead of in someone's downloads folder.
Here is what each of those looks like in practice.
1. Choose and shorten the destination
Start with the page, not the code. Open it on a phone and time how long it takes to become usable. If it takes more than about three seconds or asks the customer to log in, pick a different page.
Keep the URL tight. A link like yourstore.com/care produces a much simpler code than a link with a long tracking string attached. Simpler codes have larger black-and-white blocks, which survive cheap paper and quick scans far better.
2. Place the code with breathing room
A QR code needs a quiet zone, which is a blank border around the pattern roughly the width of four of its own modules. Text or a border pressed right against the edge is one of the most common reasons a code fails to read.
Size matters too. On a 4x6 card, a code somewhere around one inch square is comfortable. Smaller than about three quarters of an inch and phone cameras start hunting for focus, especially in the dim lighting where most parcels get opened.
3. Label the code in plain words
An unlabeled square is a gamble. Nobody scans a mystery. A four-word label above the code turns it into an offer.
Good labels are specific and promise one thing. "Scan to leave a review." "Scan for care instructions." "Scan for 15% off your next order." Bad labels are vague, like "Learn more" or "Connect with us," which give the customer no reason to lift their phone.
Where to Put the Code on the Card
Placement changes scan rates more than most merchants expect, because it changes what the customer sees in the first half second.
The lower right corner is the safest default for most OpoShop stores. It sits under the natural reading path, it stays clear of the fold if the card doubles as a tent card, and it is the easiest spot to hold a phone over while the card lies flat on a table.
Centre placement works when the card exists mainly to drive the scan. A reorder card with a discount code is really just a coupon, so putting the code in the middle and the offer above it is the whole design.
Avoid the very edge. Trim tolerance on most printing is a millimetre or two either way, and a code that runs close to the cut line can lose part of its quiet zone or, worse, part of the pattern. Keep at least a quarter inch of clear card between the code and the trim edge.
If the card carries more than one code, separate them clearly and label each. Three codes stacked in a row with no labels read as decoration. Three codes with "Review," "Care guide," and "Reorder" written under them read as a menu.
Static Codes vs Dynamic Codes vs Built-In Insert Codes
There are three ways to get a code onto a card, and they trade off differently on effort, control, and cost.
| Approach | Best for | Why it works | Watch-out |
|---|---|---|---|
| Free static generator | A single card design you rarely change | Costs nothing and produces a permanent code that never expires | The link is baked in, so a page move breaks every printed card |
| Paid dynamic QR service | Campaigns you want to redirect and track over time | The destination can be edited after printing and scans are counted | Monthly fee, and codes stop working if the subscription lapses |
| Code built into the insert PDF | Ongoing order-by-order inserts | The code, the card design, and the trim size stay in one place and print sharp | Changing the destination means regenerating the PDF for new cards |
Static generators are fine for a card you print once and forget, like a care card that points at a permanent guide page. The risk is real though. If that URL ever changes, every card in the box becomes a dead end.
Dynamic services solve that by putting a redirect in the middle, which also gives you scan counts. The catch is that your printed cards now depend on someone else's subscription staying active, which is a strange dependency to build into a physical product.
Building the code into the insert PDF is the option most small teams end up preferring, because the card and the code are generated together each time you print a batch. For a store on OpoShop, that means the codes on today's cards can differ from last month's cards without any design work.
Mistakes That Stop a Code From Scanning
Most failed QR codes fail for boring physical reasons rather than technical ones.
Printing too small is the first. A code that looks fine on a screen at 400 pixels can end up half an inch wide on paper, which is under the reliable threshold for a quick handheld scan.
Low contrast is the second. Dark grey on light grey looks tasteful and scans badly. Black on white is not exciting, but it works in a dim hallway with a cracked phone screen, which is the real testing environment.
Scaling the PDF at print time is the third, and it is sneaky. A print dialog set to "fit to page" resizes the whole card, which can shrink the code and shift the quiet zone. Print at 100 percent, always.
Glossy stock is the fourth. A high-gloss finish throws glare back at the camera under a kitchen light. Matte or uncoated stock scans noticeably better and also takes a pen if you want to hand-write a name.
The fifth is placing the code where the customer never looks. A code on the reverse of a card that stays face-down in the box gets zero scans for a OpoShop seller, no matter how good the offer is.
What We Recommend for OpoShop Merchants
Start with one code, one destination, and one printed test card. That combination catches nearly every problem before you commit to a batch.
Three practical defaults work for most small brands:
- A 4x6 card with a one-inch code in the lower right and a four-word label above it.
- A destination that is either a review page or a reorder page, chosen based on whether you need social proof or repeat sales more right now.
- A matte or uncoated stock printed at 100 percent scale on a laser printer.
Once that is running, adding a second and third code is a small step. A review code, a care guide code, and a reorder code back into your OpoShop store cover the three things a post-purchase card can realistically do.
Do not overthink the design of the code itself. Coloured codes, logos in the middle, and rounded modules all reduce the error margin you are relying on. Plain black squares on white paper will outperform a beautiful code that half your customers cannot read.
Best answer: Add a QR code by choosing one short destination URL, rendering the code into the card layout at roughly one inch square with clear quiet space, printing at exact trim size with no scaling, and testing a single card on two phones before the batch. Stores on OpoShop get the most out of it when the code points at one specific action rather than a homepage.
If you want the code, the card design, and the trim size handled in one print-ready file, that is worth setting up before your next packing session.
FAQs
How big should a QR code be on a package insert?
About one inch square is a reliable size on a 4x6 or 5x7 card, and three quarters of an inch is roughly the lower limit. Larger codes scan faster in poor light, so if the card has room, err on the bigger side rather than the smaller.
Do QR codes on printed cards expire?
A plain static code does not expire, because the URL is encoded directly in the pattern. Codes made through a paid redirect service can stop working if the subscription ends, which is worth checking before you print a few hundred cards.
Can I put more than one QR code on the same insert?
Yes, and up to three is manageable on a 4x6 card if each one has its own short label. Beyond three, the card starts to look like a menu and most OpoShop shoppers scan none of them.
Will a QR code work if the customer has an older phone?
Almost every phone from the last several years reads QR codes straight from the native camera app with no extra software. A small number of older devices need a scanner app, which is another reason to print the destination as plain text somewhere on the card as a fallback.
What is the best colour for a printed QR code?
Black on white is the most reliable combination and should be the default. If brand colours are essential, use a very dark colour on a very light background and test the printed result on two phones before committing to a batch.
Should the QR code link to my homepage?
Usually not. A homepage makes the customer search for whatever you wanted them to do, and most will not bother. Point the code at the single page that matches the card's purpose, such as a review form, a care guide, or a reorder page carrying a discount.
Ready to put a working code on every card you pack? Set the flow up where your orders already live.